
We All Want To Take Better Photos
Between new techniques, new gear, and just the creative process, photographers are never through learning their craft. The more advice you seek out and employ, the better your resulting pictures will be. So here's my list to get the beginning underwater photographer started.
General Technique
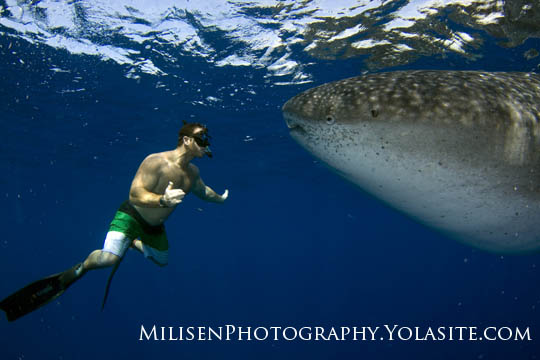
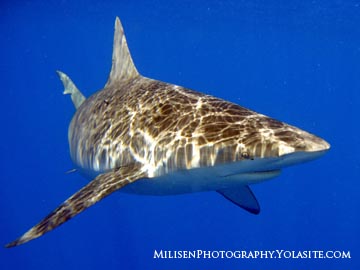
-Whenever possible, shoot up at the subject. At the very least this will contrast it against a blue background.
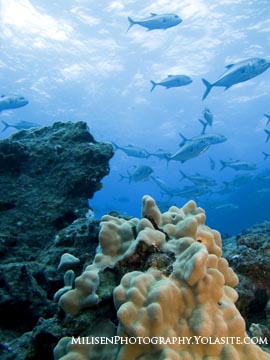
-Practice taking a variety of shots. The staples in the tool chest of any good underwater photographer are macro, close-focus wide-angle, over/under, and portraits. It is easier to branch out once you have mastered the basics.
-Do your homework and know what you will probably be shooting. Google image search the location ahead of time and plan accordingly. Take the time to know your target subjects before you splash. A good critter ID course can do a budding photographer wonders.
-Go out of your way to find an enthralling subject. Most of my diving is spent targeting something specific that I think might look good in a photo.
-Probably the most important advice one can give is get out there! Taking top-quality underwater photographs won’t happen your first time out. Take every opportunity to get wet and eventually, you’ll get it.
Understanding Exposure
Photography is all about controlling light. The more you understand that, the better your photos will be. There are three basic settings in the camera that affect the total light hitting the sensor.
 -Shutter speed is the easiest variable to grasp. The longer the shutter is open, the more light gets in, but the more motion will be blurred. If you want to freeze a fast moving animal, use a shutter speed of 1/200 sec. or faster. If you want to make the water at the shoreline look like silk, use a shutter speed of 1 second or more.
-Aperture (F-stop) adjusts the size of the hole through which the light passes in the camera. The aperture number adjusts your depth of field (how much stuff is in focus) in a direct relationship. Thus a smaller aperture number (for example f/2) means only a slice of space will be in focus and a lot of light will enter the camera. A larger aperture number (f/16) puts everything in focus but lets very little light in. Ansel Adams used very small apertures for his landscapes because he wanted the foreground to be as in focus as his backgrounds.
-ISO is how sensitive the sensor is to light. Low iso’s (iso 100) require more light but generally make higher quality images. High iso’s work well in darker areas and dimly lit rooms but tend to show a higher amount of digital noise.
Gear
-Get the best quality dry camera and housing combination available within your budget. Better optics and thus better pictures tend to come from established camera manufacturers like Canon and Nikon as opposed to the companies that make cameras specifically for water use.
-Know your equipment. Read the manual and practice in your living room before stepping into the water.
-Even better, you can start weaning yourself off of the camera’s automatic modes. Start by shooting aperture or shutter priority mode. The priority modes make learning to shoot manual less intimidating by forcing the photographer to alter one setting at a time. For example, aperture priority lets you set the aperture and the camera will calculate the shutter-speed to achieve the exposure you want.
-Save enough money for an external strobe. If it comes down to investing in a better camera or getting a strobe, go for the extra light. A strobe will add a new dimension to your photography experience.
-If you can’t afford a strobe (yet), learn how to set a custom white balance. This will adjust the colors in the photo to compensate for whatever color your world is. In underwater photography, this primarily means replacing the missing red values.